Connect Guesty
How to connect Guesty with client ID and client secret, map listings and send bookings from Xentra back to Guesty.
Updated on November 6, 2026
With the Guesty connection, your bookings come to Xentra in real time, and guest messages run in both directions via the Xentra inbox. Xentra also writes fields such as the check-in link or door code back to Guesty.
Create access data in Guesty
In Guesty under Settings → OAuth Applications (the link is also in the Xentra dialog) create an application. Guesty then shows you the Client ID and Client Secret.
Connect
- Open PMS & iCal and click Connect for Guesty.
- Enter Client ID and Client Secret, optionally a connection name.
- Test connection, then Save connection.
- Under “Property mapping” assign each Guesty listing to a Xentra unit, or import it as a new unit with the plus button.
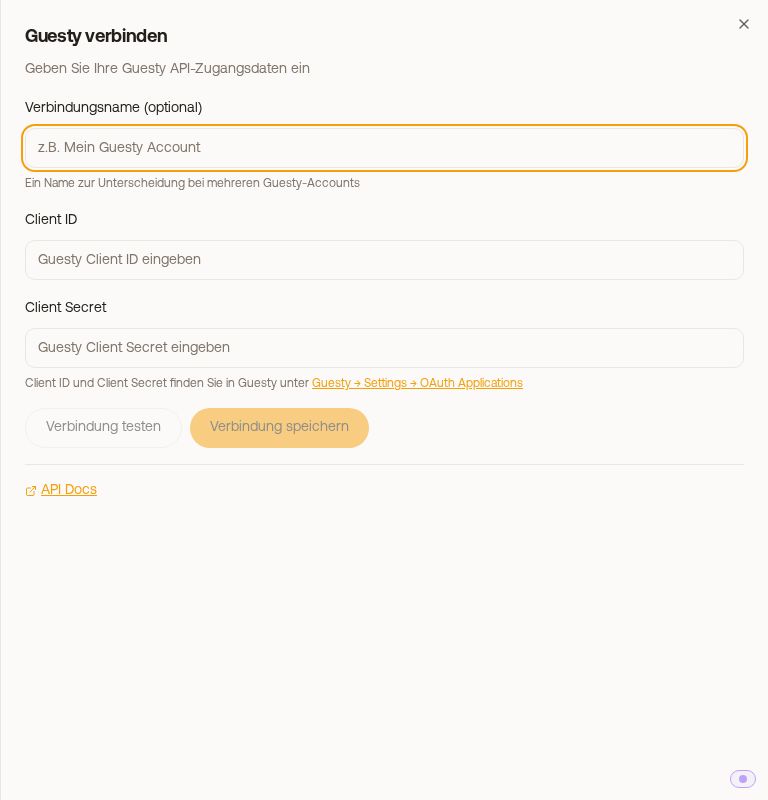 The “Connect Guesty” dialog with Client ID and Client Secret
When saving, Xentra sets up the webhooks in Guesty itself. Afterwards the dialog says “Webhooks configured automatically”. If that did not work, try again with “Register webhook automatically”.
What arrives
- Bookings come in real time via the webhook. Guesty has no regular sync without a webhook; bookings that were created before connecting or once went missing, you fetch with Quick Sync (the last 30 days and the next 365 days) or Full Sync (everything).
- Messages from your guests land in the Xentra inbox. Replies that you or your automations write directly in Guesty also appear there as your message, so that the history is complete. What Xentra itself sent does not appear twice.
- Reviews are not delivered by the Guesty interface.
Send bookings from Xentra to Guesty
So that bookings from your Xentra calendar, booking tool or the Data API also end up in Guesty, switch on “Send bookings to PMS” at the bottom of the connection, see Sending bookings to your PMS.
Bookings that come from Guesty you change and cancel in Guesty; Xentra takes it over at the next sync. More on this: PMS connections: which PMS can do what.